Secrets to a Successful Interior Design Installation Day
We share secrets for a successful interior design installation, including what to bring in your interior design installation kits.
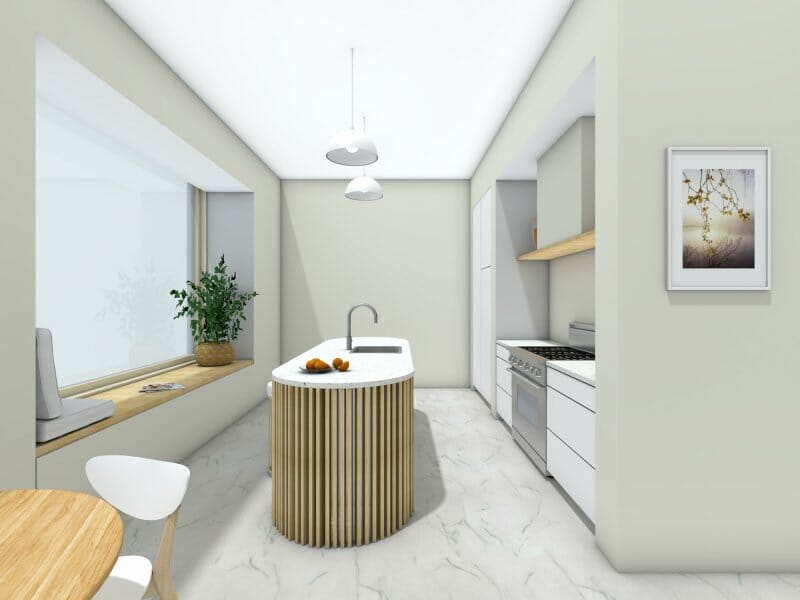
Organized chaos. That’s how many professionals describe interior design installation day. And no wonder: interior design installation is comprised of countless moving parts, intricate details, and tight deadlines as everything comes together for the big reveal.
Read on for our installation day guide and checklist:
What is Installation Day?
As its name suggests, installation day is the day – or days, depending on the size of your project – when your interior design vision comes to life.
Planning a successful day rather than winging it will ensure the spaces feel perfectly layered and nuanced while shining the spotlight on statement pieces and features that showcase your passion for design and unwavering commitment to client service.
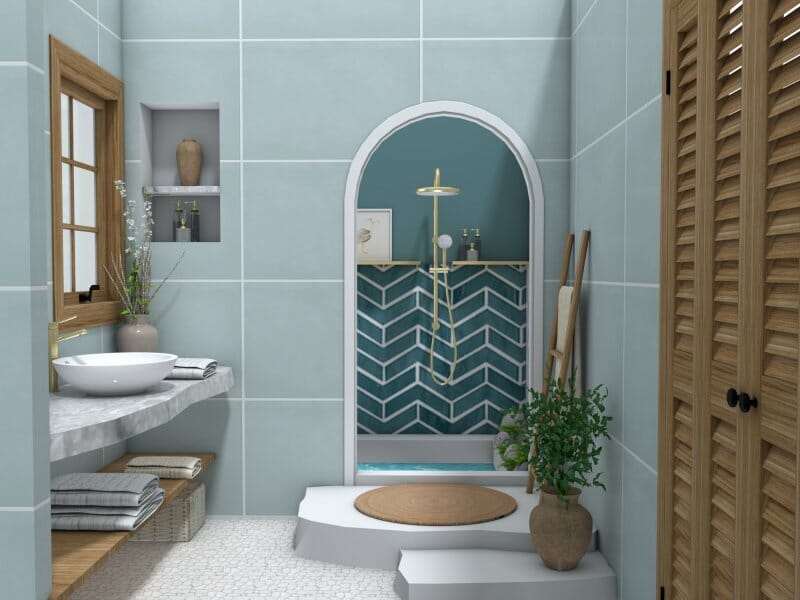
What Should Be Completed and Installed Before Installation Day?
Before your team arrives for interior design installation day, the house should be sparkling clean. The following should be completed and installed:
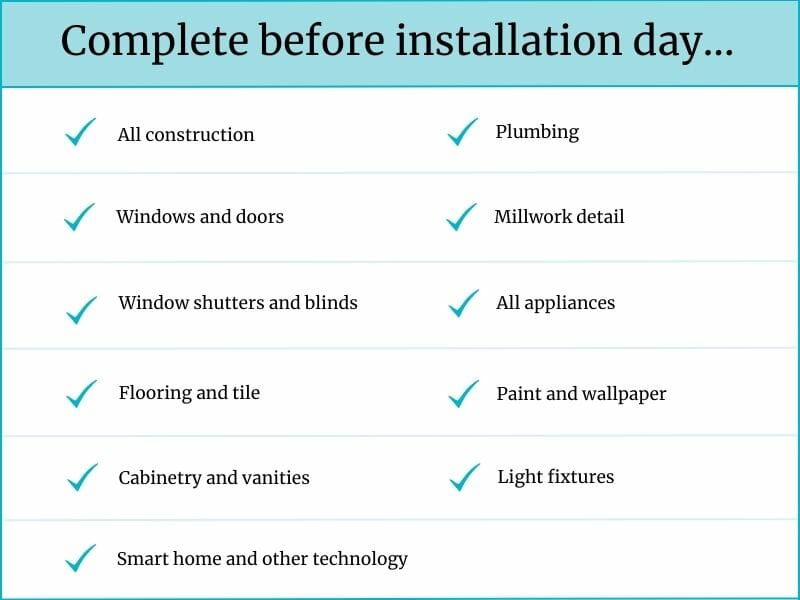
Installation Day Checklist
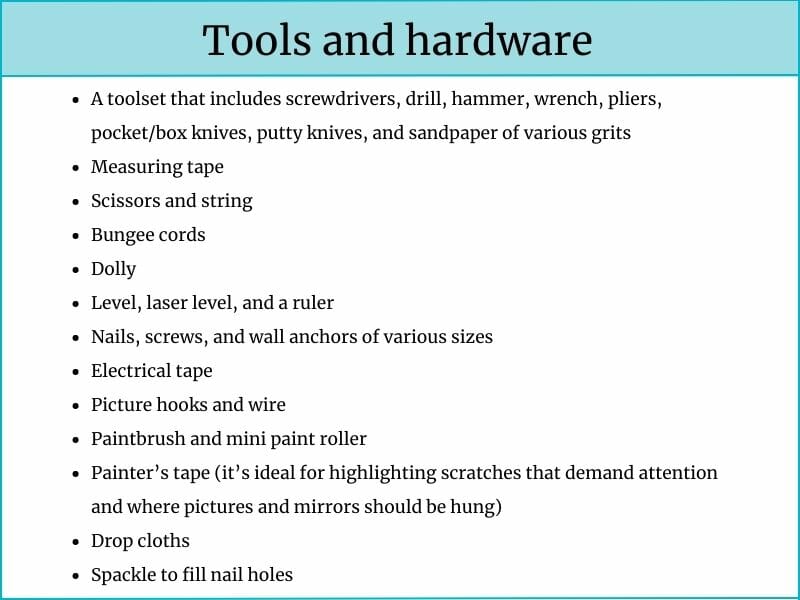
Every designer should have well-equipped interior design installation kits to deal with both the expected and unexpected. Here at RoomSketcher, we suggest creating several toolkits that include the following:
Tools and hardware
Cleaning supplies

Installation day essentials
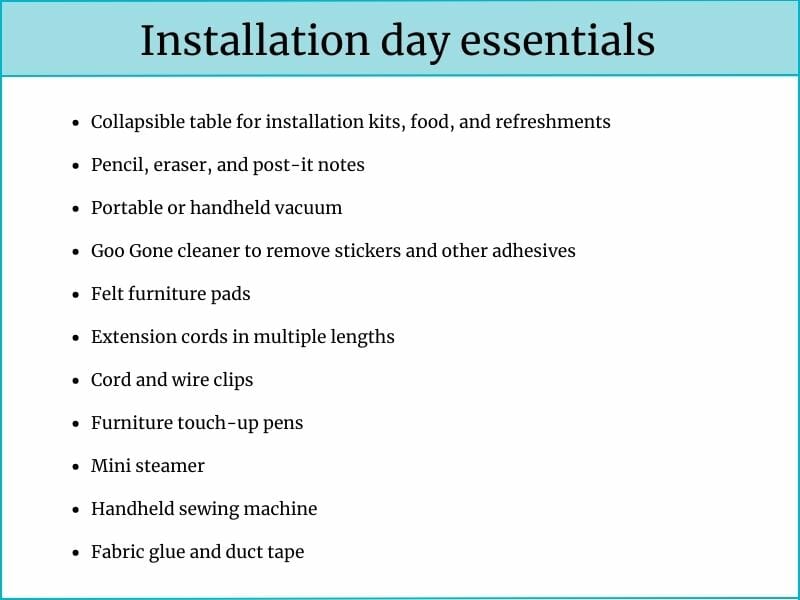
We recommend having paint used in the project on hand for any necessary touch-ups. Bring a personal kit of items to ensure your comfort and well-being, such as refreshments and food to get you through what will likely be a long day, and a phone charger so you never need to worry about your phone dying.
Pack a portable speaker to blast your favorite installation day playlist to motivate yourself and your team when the going gets tough. Don’t forget toilet paper, as you don’t know how much – if any – is onsite, as well as hand sanitizer. Be sure to wear comfortable clothing and shoes!
"As an Interior Designer, one valuable tip to ensure smooth installation days is to create a detailed installation plan and communicate it effectively with all parties involved. This plan should outline the timeline, tasks, and responsibilities for each person or team, including the contractors, suppliers, and installation crew."
Maria Veliniceriu, MissMV
Interior Design Installation Day Timeline
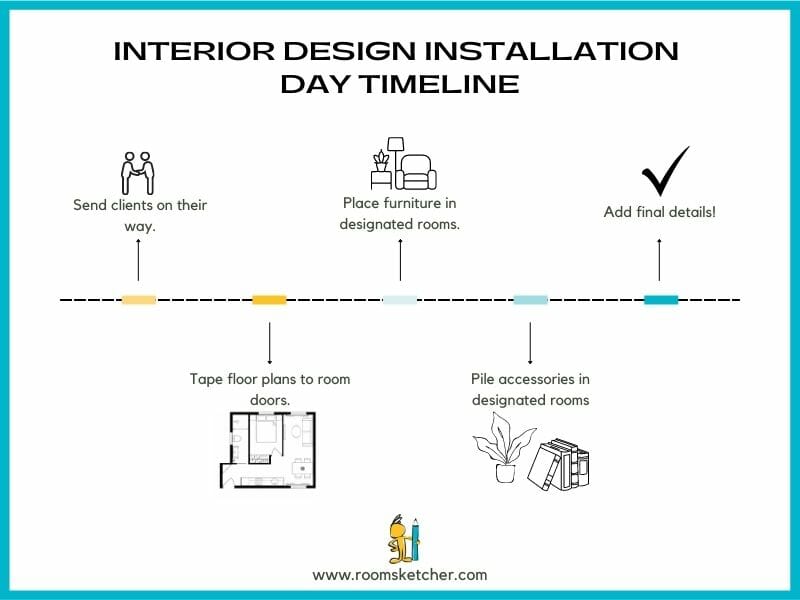
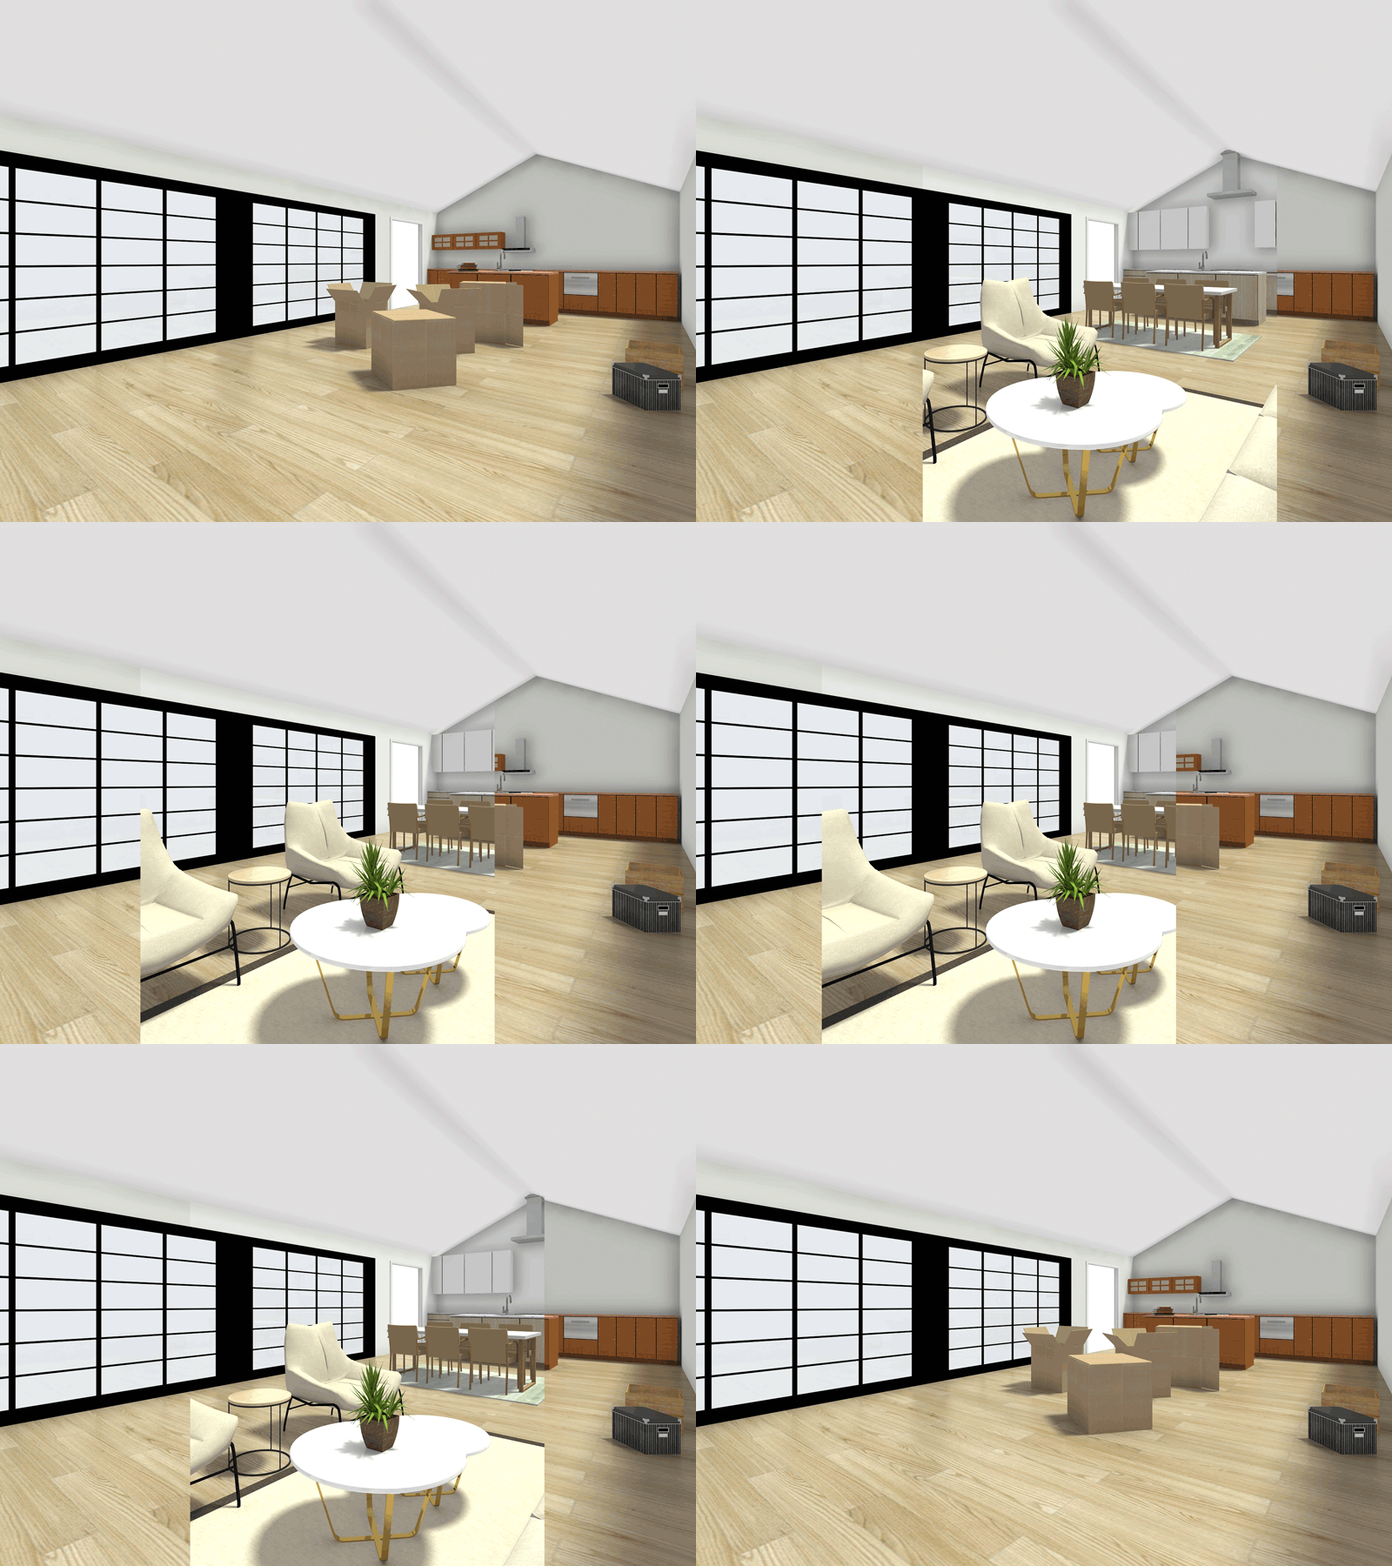
Step 1. Greet your clients and send them on their way so you can focus on the job at hand. As the installation day team arrives, unpack the interior design installation kits in the area that will serve as your design station. Set up snacks and music.
Step 2. Tape floor plans to room doors. Make sure each team member knows their responsibilities. Assign someone to check off each item as it’s unloaded from the moving truck and ensure it goes to its proper destination.
Step 3. Place large furniture items in their designated spaces but ensure your team can safely navigate around them to avoid damage. Use painter’s tape to mark precisely where area rugs should be placed.
Step 4. Pile accessories in their designated rooms. This step may require some trial and error as you try out pillows and lamps. Window treatments can be installed during this step.
Step 5. Drape blankets over chairs, sofas, and beds, fluff pillows (or give them a good karate chop if you prefer), steam draperies, and install lightbulbs into light fixtures. Add felt furniture pads, organize cords, remove tags and stickers, clean surfaces, remove garbage, and arrange fresh greens and florals. Attention to detail is a must!
Interior Design Installation Day Success Secrets
1. Use 3D visualization to improve interior design installations
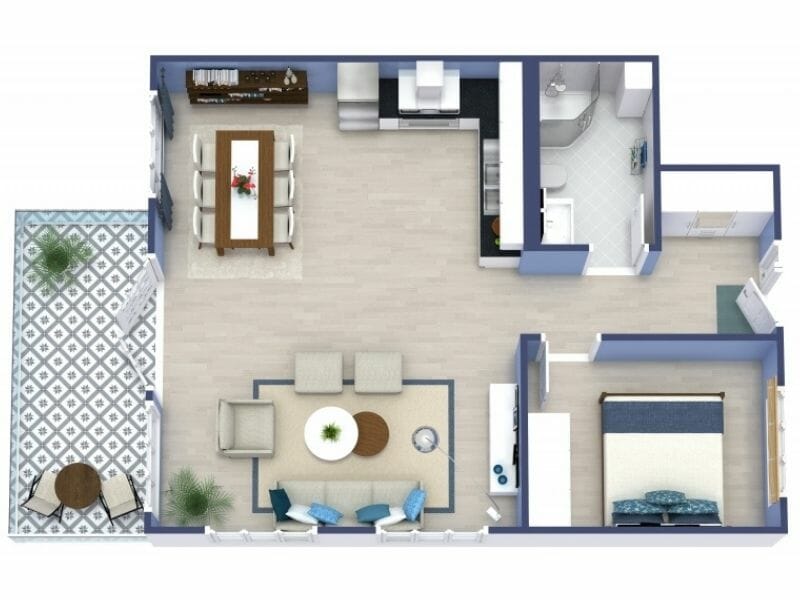
You already know that 3D visualization software like RoomSketcher is invaluable when planning your interior design project. It’s equally important on installation day because it shows your team where to place furniture, area rugs, lighting, and artwork, that you incorporated into your plan using our comprehensive furniture library.
With RoomSketcher, your projects are accessible online – anytime and anywhere you have a mobile device or a laptop. Have your design drawings and tools online where you need them during your interior design installations.
The software allows you to make changes as you go, which you may decide to do if you run into any obstacles or feel the space requires something different than originally planned. You can immediately share the changes with your clients and team so everyone is on board.
2. Before installation day
You’ve sourced and stored items big and small for this project. If they haven’t already been wrapped for safe transport, do that before installation day. Pack accessories and smaller items room by room. Check off each item from your checklist.
"Before the actual installation day, I always take time to assemble all of the furniture components so that my team and I can quickly place them in their designated spots on installation day. This helps to minimize the time of the install since no extra assembly will be required. As it is important for me to have all of the necessary supplies ready ahead of time such as tools, tape measure, ladders etc. This way when any little hiccup or hurdle arises, my team and I will be prepared to deal with it."
David Mason, Knobs.Co
3. Be prepared for the unexpected
If you’ve got numerous interior design installations under your belt, you’re likely familiar with the saying about the best-laid plans going awry.
One designer tells the story of an oversized couch and a little elevator. Luckily, she found another way to get the couch to the apartment. Another designer dragged several heavy boxes of accessories across the foyer on install day before noticing they were leaving big scratches on the pristine wood floors. Cue the contractor, who gave the floors a quick buffing and another coat of polish.
You may have your own horror stories, but as your toolkits illustrate, you’ve compiled a growing list of strategies and troubleshooting skills to make do. As a designer, you’re accustomed to thinking outside the box. Installation day may require the same skills you use when you encounter design or supply obstacles.
Curtains too long? Use fabric glue or a handheld sewing machine to hem them temporarily. Has something arrived damaged or broken? Hello, duct tape! Remember, faith that everything will work out, a good sense of humor, nourishing food, an inspirational playlist, and good communication with your team will go a long way in your interior design installation!
From Conception to Completion - Time For the Big Reveal
When you welcome your clients back home, expect them to be emotional. After all, any interior design project is both a financial and emotional investment. After weeks and possibly months of making countless decisions and having their lives upended during construction, they’re excited to see their vision come to life.
Ask if they’d like you to accompany them throughout the house or if they’d prefer to experience the new look alone first before you walk through the rooms together. When you accompany them on the tour, point out details and special touches and perhaps remind them about why some decisions were made.
Review the punch list of anything that needs to be repaired or replaced so they know what you will follow up on in the coming days, and make note of any changes they may request. As you invite your clients to enjoy their breathtaking and life-changing new spaces, take pride in the satisfaction of another successful installation day.
Follow up with your client once everything on the punch list has been checked off, and schedule a photo and video shoot. Let them know how proud you are to include the project in your portfolio and on your social media platforms, and invite them to share the images!
Create Better Interior Design Plans Beginning Today
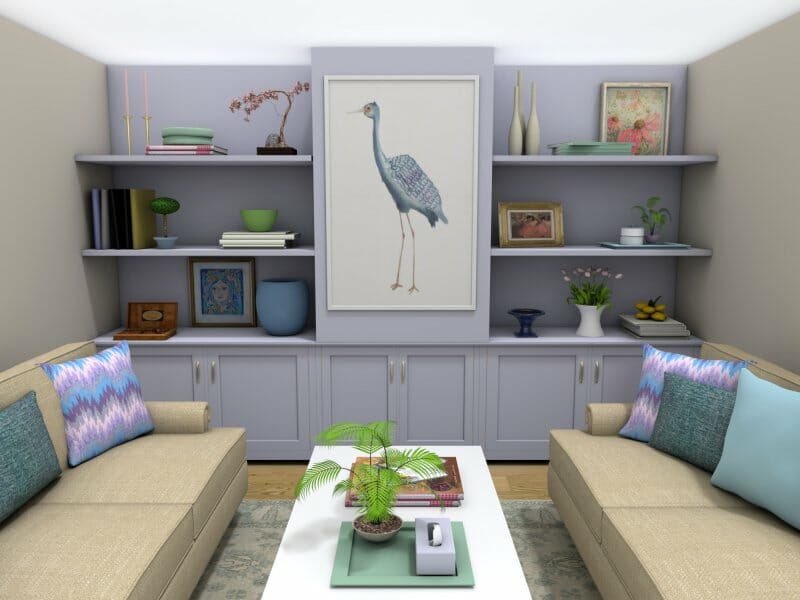
RoomSketcher’s state-of-the-art 3D visualization makes it easy to present your interior design ideas with clear, high-quality 3D Floor Plans and 3D Photos of your room design in addition to your 2D Floor Plan complete with annotations and useful measurements. Those plans will make every interior design installation go as smoothly as possible.
Don't forget to share this post!
Recommended Reads
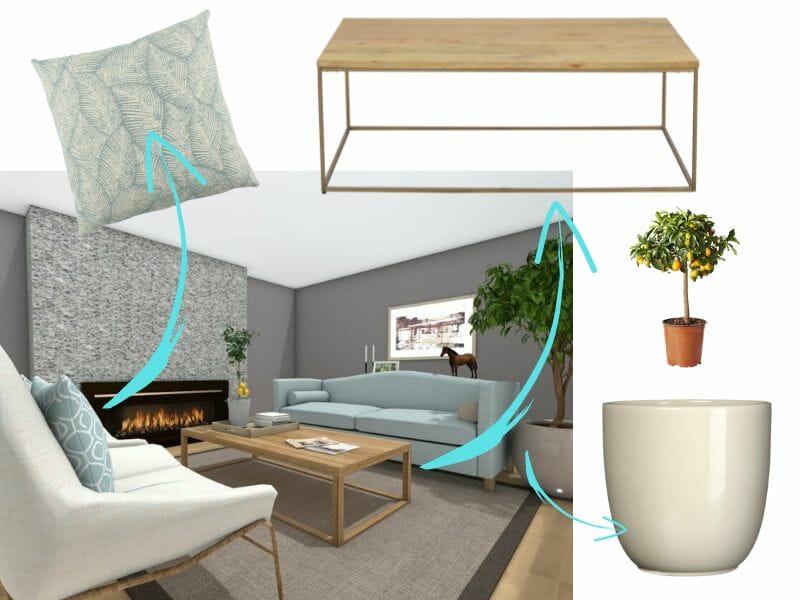
The Ultimate Guide to Interior Design Product Sourcing
Take your interior design product sourcing to the next level with RoomSketcher 3D Home Design Software.
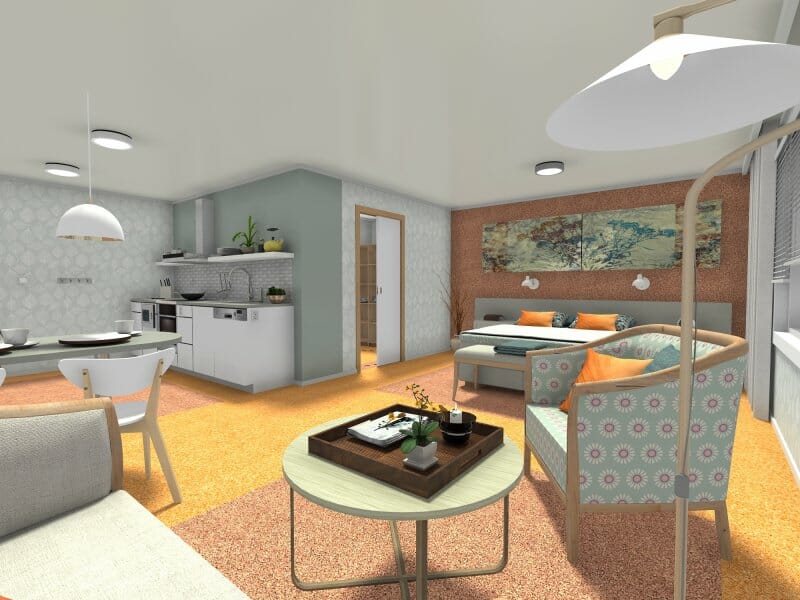
How to Offer E-Design Services as an Interior Designer
See how this savvy interior designer successfully provides e-design services and interior design online with RoomSketcher.
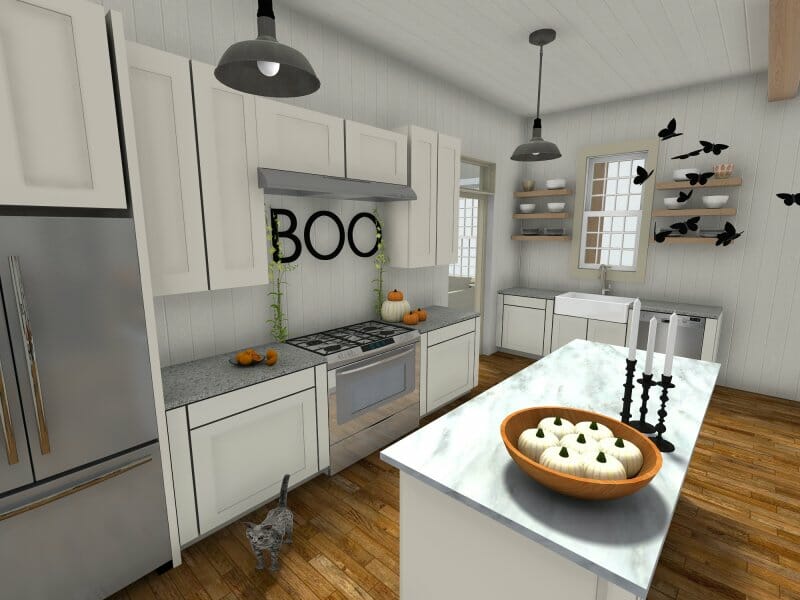
Decorate With Letters
We’ve added letters! Create murals, signage, and more in your design projects with letters. Try different layouts, sizes, and colors to find the perfect look - before you buy.
