How to Prepare the Home for Real Estate Photography
You don’t need to hire a stylist to make the house look attractive to potential buyers. Just read our tips and invest a little bit of time!
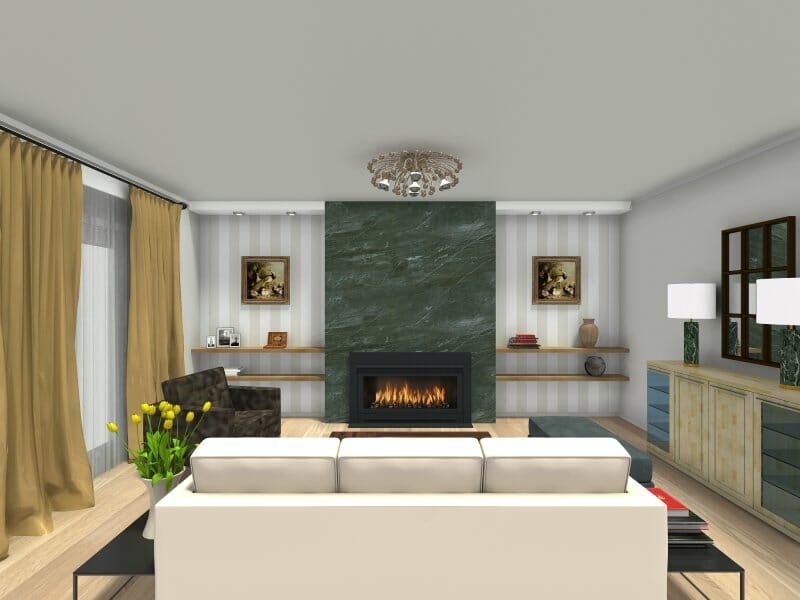
Are you selling a home and want some tips on what to prepare for the photography shoot?
Buyers often look at pictures and floor plans as the first step in their search. That’s why many sellers hire a professional real estate photographer to shoot beautiful pictures inside and outside their homes.
Before the photographer arrives, make sure to invest the time in preparing and styling the home. A few hours of cleaning, arranging, and decluttering can help you receive beautiful, appealing photographs for an attractive real estate listing and a faster sale!
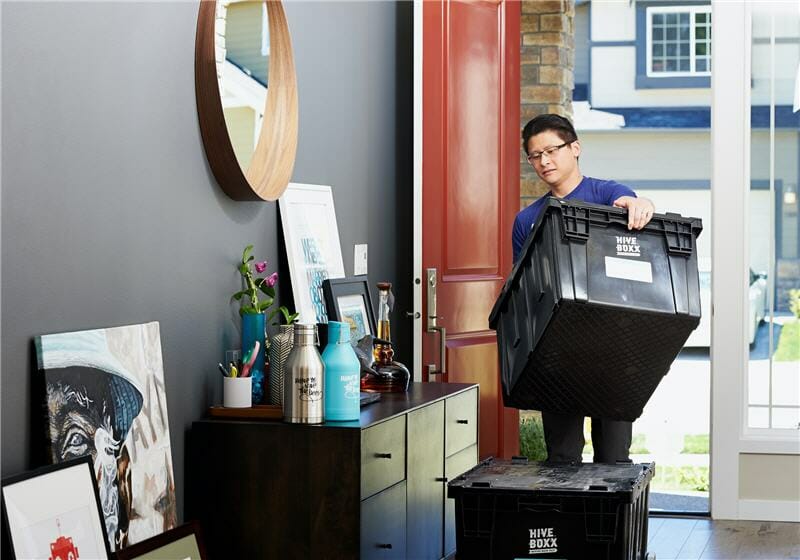
Where to Start With Real Estate Photography?
While you do not have to show every part of the house in a real estate listing, most agents and photographers will prioritize these standard images:
- Wide-angle shots of bedrooms, kitchen, and living room
- One photo of the main bathroom
- 1-3 shots of the backyard and a couple of shots of the front yard and entry
- Shots of features such as the laundry room, garage, and pantry
General tips when preparing the home for real estate photography:
- Clean the whole house (vacuum carpet, mop hard floors, clean countertops,
clean windows) - Replace all burned-out light bulbs
- Remove personal photographs (or replace them with general landscape/object
photographs) - Make all beds
- Remove small floor rugs to reveal actual flooring and get a cleaner look
- Put all clothes in closets
- Consider removing some furniture to make the house appear more spacious
Are you selling your home?
Checklist: Top tips on how to prepare for real estate photography – area by area
Exterior, front yard, and backyard
- Close all garage doors
- Remove cars so they are not visible in the pictures
- Attend to landscaping (mow the lawn, trim bushes, and remove leaves)
- Remove dead foliage and empty planters
- Remove trash cans
- Remove visible water hoses, ladders, and other tools
- Remove toys and playground supplies
- Remove any seasonal decor (for example, Christmas lights)
- Tidy up outdoor tables, chairs, etc., and fluff cushions
- Clean the pool
- Consider adding a few details like candle holders, etc, to create a cozy atmosphere

Hallway and wardrobe
- Put clothes in the closet. Leave only an item or two on a hanger or a hook
- Remove shoes. If you decide to leave a pair, make sure they are clean and nice
- Remove clutter (keys, wallets, papers, etc.)
Kitchen
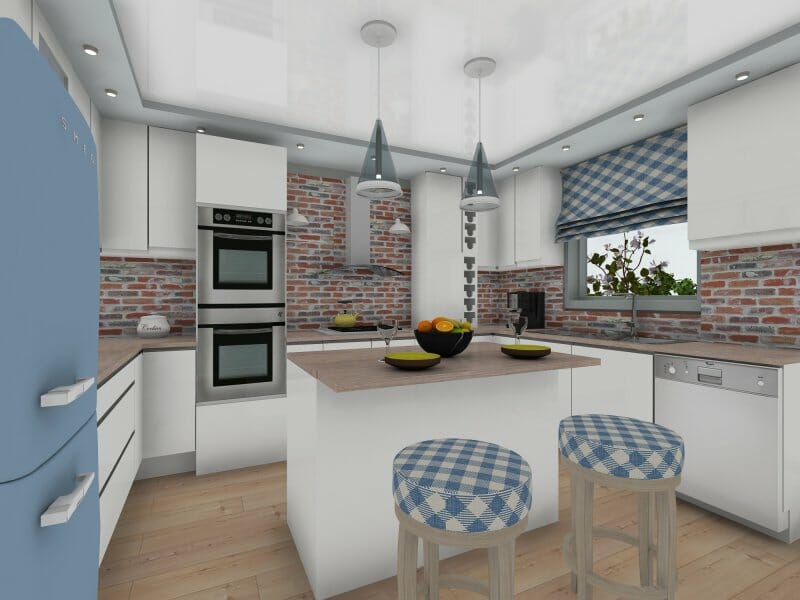
- Clear countertops – less is more
- Leave a couple of stylish items on the counter (a coffee maker or a bowl of fruit)
- Hide all dishes; place dirty dishes in the dishwasher
- Hide garbage cans and recycling bins
- Clear the front of the refrigerator of magnets, postcards, photos, etc.
- Clean and/or polish countertops and cabinets to make sure there are no fingermarks
- Clear dining table. Consider having a vase of fresh flowers on the table
- Straighten all chairs and space them evenly
- Remove children’s chairs or high seats
Living room
- Remove magazines, papers, mail, and random clutter
- Arrange books and art in bookshelves so it looks tidy
- Remove toys
- Remove clutter and clean the interior of the fireplace
- If the fireplace has a glass front – clean it
- Fluff and arrange furniture pillows
- Hide and/or arrange cables from TV, stereo, and other electrical devices

Bedrooms
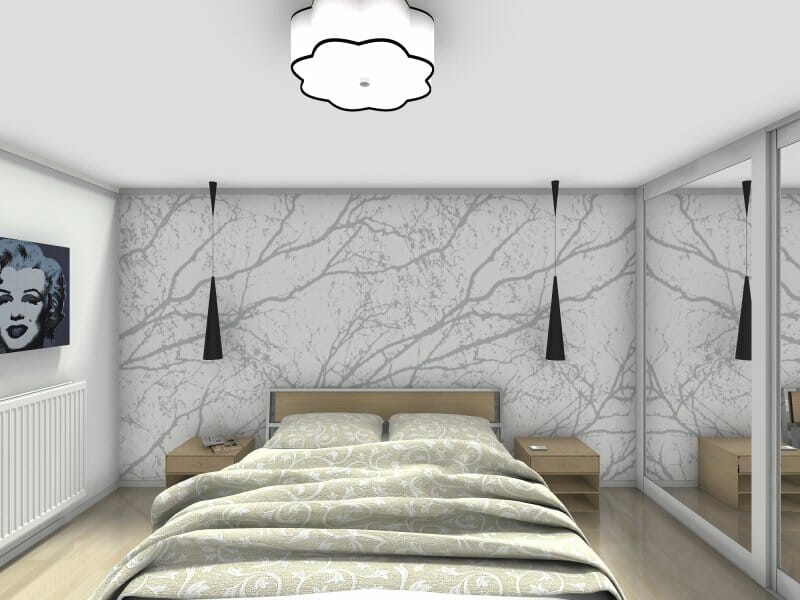
- The bedding should be in matching colors, have no wrinkles, and no discoloring or fading
- Press bed linens and bed skirts
- Make the beds, including decorative pillows/shams if available
- Edges of bedding and sheets, when visible, should either be tucked neatly or hung straight
- Pillows should be wrinkle-free, fluffed, matching, and arranged neatly
- Remove personal belongings like pictures, clothing, electronics, and clutter
- Remove trash cans
- Clean under the bed, remove items that may show in the photos
Kids & guest bedrooms
- Remove personalized items like names and pictures from walls
- Tidy the room: put books in bookshelves, toys in boxes, and put some key toys on shelves for display
- Clean under the bed, removing items that may show in the photos
Home office
- Clear desk
- Hide and/or arrange all the cables
- Hide papers
- Arrange items neatly in a bookshelf
- Remove personalized items
Bathrooms
- Clear countertops. Consider leaving a decorative soap dispenser, etc.
- Put toilet seats down
- Remove shampoo, soap, etc., from showers and tubs
- Remove dirty towels. Hang up clean towels in matching colors
- Remove floor mats
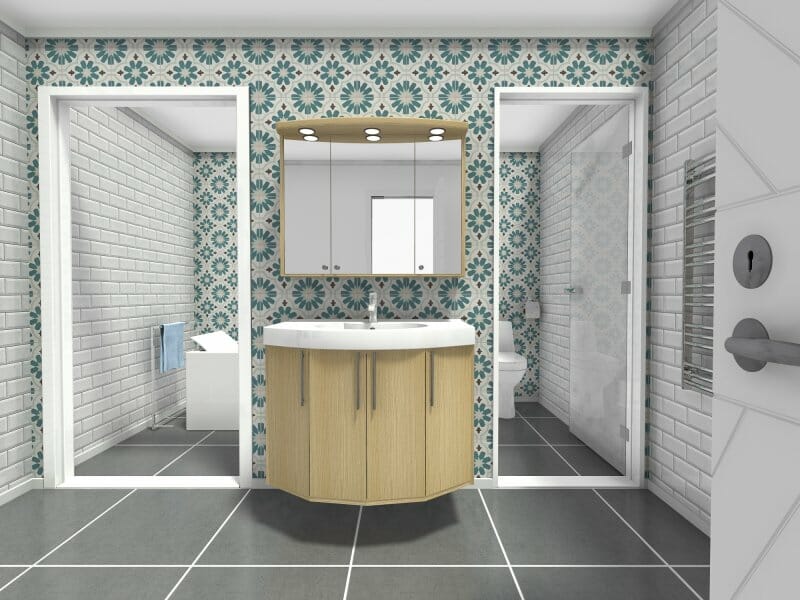
When you have prepared the house, it’s a good idea to do a final walkabout to ensure all the details are in place. And then it's ready, and the photographer can start shooting.
Need Floor Plans for Your Real Estate Listing?
With RoomSketcher, you can order high-quality 2D and 3D Floor Plans and get them delivered the next business day.
Don't forget to share this post!
Recommended Reads
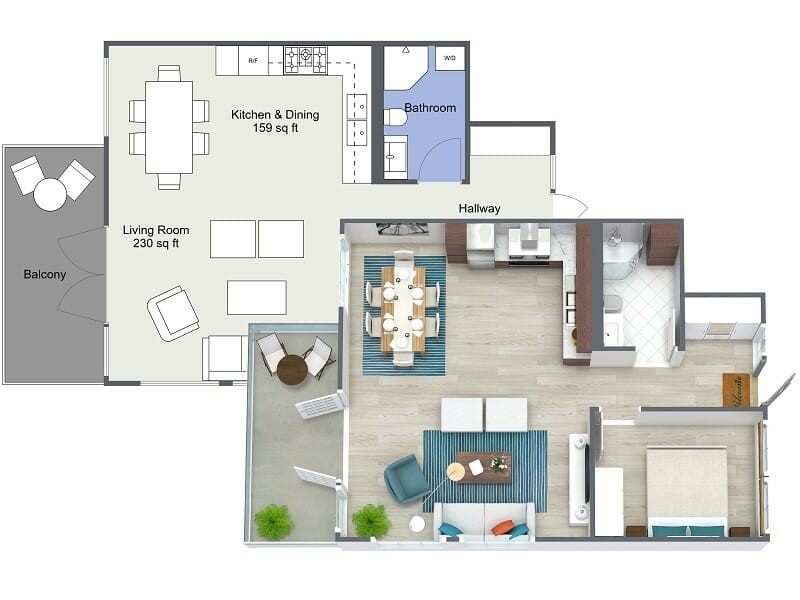
Order Floor Plans Online
Need floor plans? Order floor plans online quickly and easily with RoomSketcher Floor Plan Services. Ready the next business day!

7 Essential Tips for Selling Your Home
Getting ready to sell a home? These 7 essential tips for selling your home will help you to get prepared and create a successful listing.
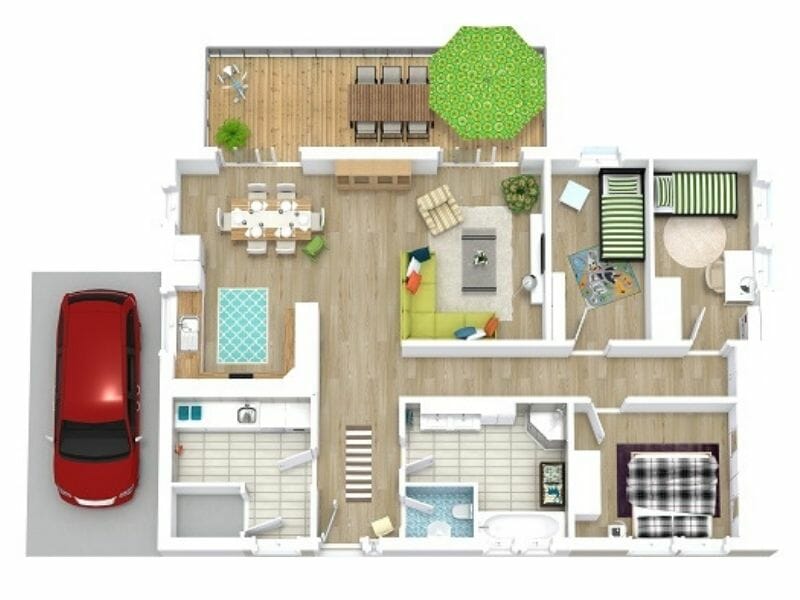
10 Ways Floor Plans Can Improve Your Home Move
Planning a move to a new home? One of the best moving tips is to use a floor plan. In fact, there are 10 ways a floor plan can improve your home move. Here’s how!