How to Take Premium 3D Photos in RoomSketcher
With RoomSketcher you can take gorgeous photo-realistic 3D images of any aspect of your design project. These images show rich colors, perfect lighting, and realistic shadows, just as if they were taken by a professional photographer inside a real interior.
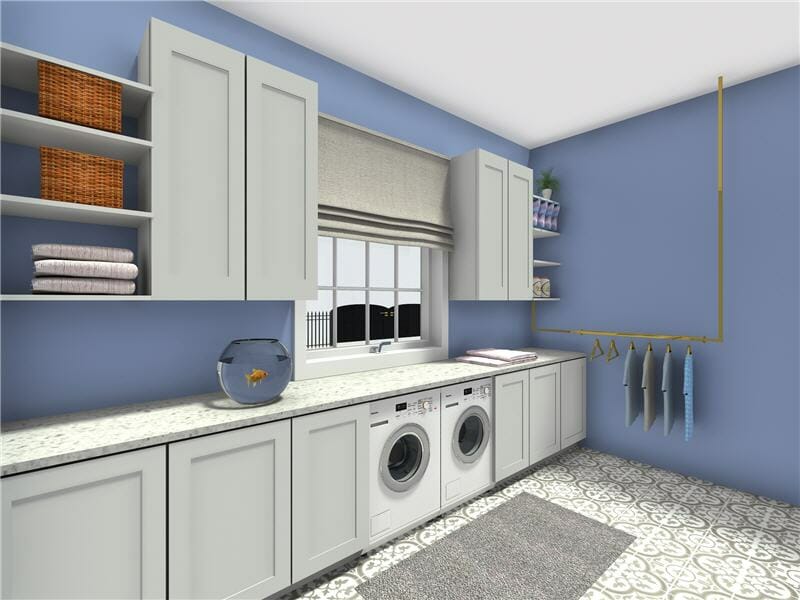
The good news – you don’t have to be a professional to add these high-quality 3D photos to your project presentations – it’s easy with RoomSketcher.
Snapshots vs 3D Photos
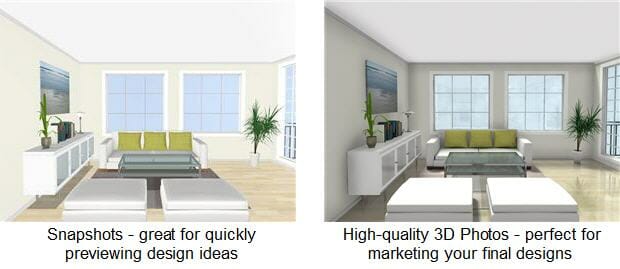
RoomSketcher provides two levels of image quality: snapshots and 3D photos.
- Snapshots are free for all users and are great for trying out ideas and quickly viewing the results.
- 3D Photos are available with a RoomSketcher subscription and provide high-quality, photo-realistic images. These are typically used for websites, product presentations, and personal users who really want to experience their design.
How to Take 3D Photos
You can take 3D Photos while you are working on a project, or upgrade existing snapshots to 3D photos.
Step 1 - Take a Snapshot
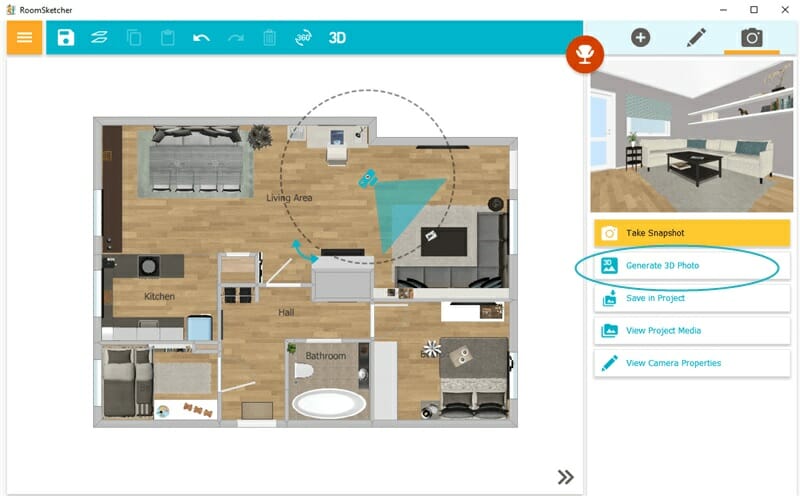
In the RoomSketcher App, press the blue Camera icon, and rotate or move the camera into position. Double-click the camera or press Take Snapshot on the right-hand side. The snapshot appears in the top-right.
Step 2 - Generate a 3D Photo
Once you have taken a snapshot, press Generate 3D Photo on the right-hand side to upgrade the image to a stunning 3D Photo.
If you have a Free subscription, you can purchase 3D Photos using a credit card or Paypal. If you have a RoomSketcher subscription, you will use RoomSketcher Credits.
Make 3D Photos of Existing Snapshots
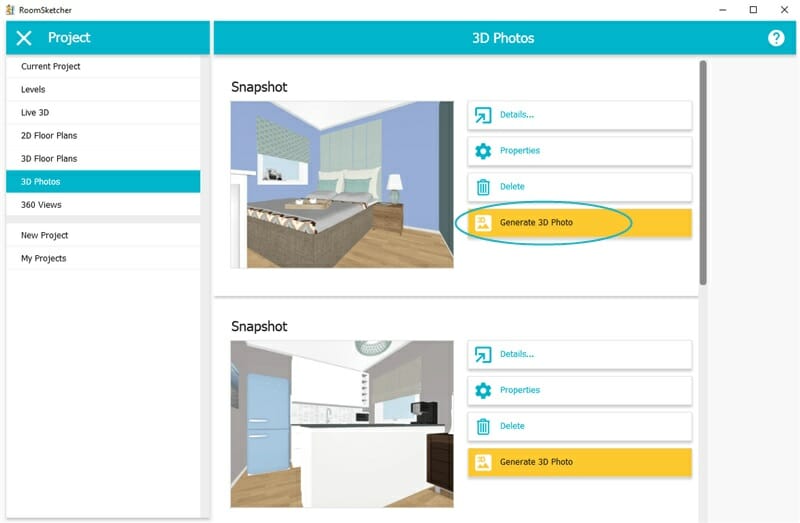
You can convert any snapshot that you have saved to the Image Gallery into a 3D Photo. From the RoomSketcher workspace, click Menu (the yellow button in the top left) and under Project, click 3D Photos. Then click Generate 3D Photo.
How to Download 3D Photos
You may want to download a 3D photo file to your computer so that you can add the image to your website, or other marketing material.
Navigate to the RoomSketcher Workspace, click Menu (the yellow button in the top left), and under Project, click 3D Photos. Then click on Details, you can then choose between Save to Disk or Print.
Watch the 3D Photos How-To Video
Don't forget to share this post!
Recommended Reads
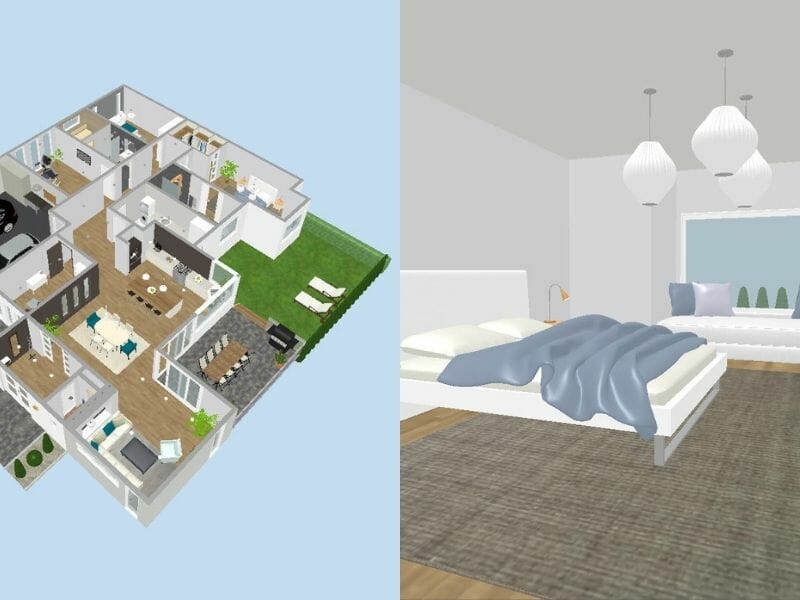
Live 3D Just Got Instant
This update will speed up your design activities, help you collaborate with others, and improve your marketing!
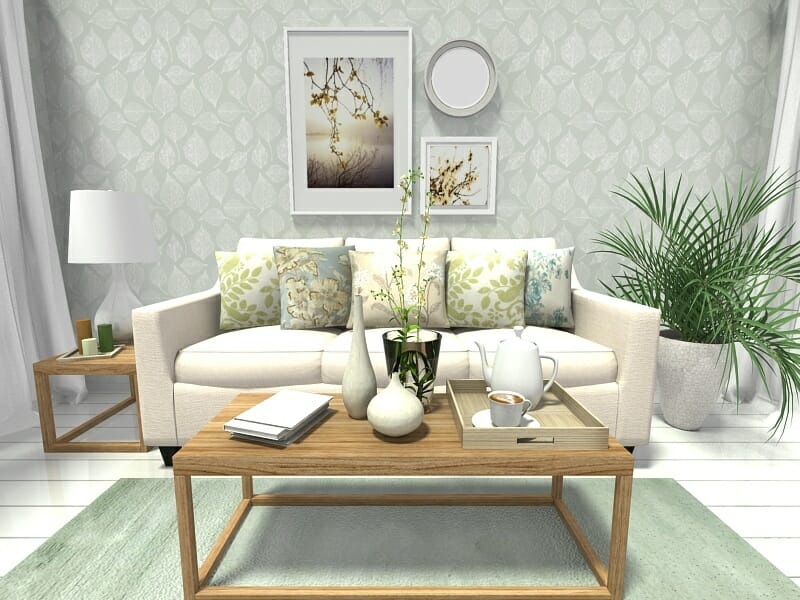
Introducing High-Res 3D Photos & 360 Views
Introducing our all new print-quality 3D Photos and RoomSketcher 360, our new panoramic viewer! Check out these fantastic ways to view and showcase your projects in 3D.
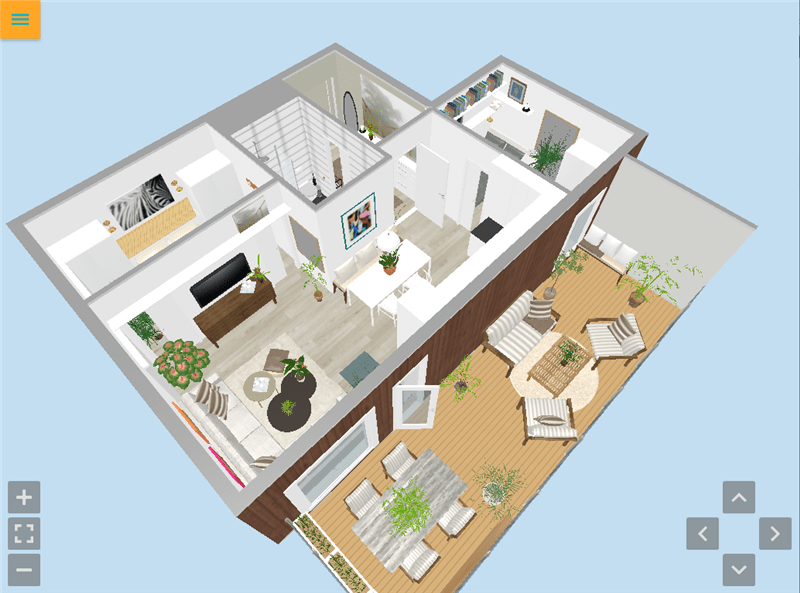
Share Live 3D Floor Plans
Live 3D Floor Plans are the latest trend for home sales, remodeling, and interior design projects - allowing users to take engaging virtual home tours right from their computer or mobile device.