Top Tips When Selling A Property
Does the thought of selling a property seem daunting? That’s understandable considering the number of tasks and the amount of paperwork involved, not to mention the many moving parts to each real estate transaction.

Usually, a real estate agent manages most of the sale complexities, taking some of the guesswork out of selling a property. While it’s great to have their guidance, you can avoid several costly mistakes if you (as a seller) have a broad understanding of the selling process.
Whether you’re selling in a bustling city, a cozy suburb, or the rural countryside, here is a list of 8 elements critical to improving your property sale success rate.
1. Price it Right
One of the first steps is to accurately and realistically predict how much it will fetch in the marketplace. It’s essential to get the pricing right as early as possible since interest in new listings often wanes within 21 days. You do not want your ad to go stale, for that lowers your negotiating power.
To find that pricing sweet-spot, we recommend you follow these steps
- Get at least three real estate agents to complete a ‘no obligation’ valuation of your property
- Research the market for comparable property listings in the area, within the last 2-3 months
- Research actual sales prices for such properties
Depending on your property, age, size, location, and condition, this research will deliver the most relevant market value. Ultimately, a property is only worth what a buyer is prepared to pay for it. Therefore, the market will determine the price in the end. However, by following the steps outlined above you will ensure you give yourself the best chance possible of achieving your property’s true value.
2. Clean and Declutter
Before marketing your house, be sure it is at it’s best. You may need to put a fresh coat of paint on the walls and spend time deep-cleaning and decluttering.

Consider adding a few potted flowers in the rooms for a beautiful, natural vibe. Make sure your landscaping is in tip-top shape, and perform small repairs like fixing faucets or replacing burnt-out light bulbs.
Top RoomSketcher Tip
Don’t forget to organize your cupboards and closets. Sellers tend to think that messy storage spaces will stay hidden, but that is not always so.
3. Staged, Clicked, Shared, Sold!
In today’s world, buyers and sellers alike are hesitant to engage in open house sessions. You will find that only the most interested buyers end up visiting homes – and a visit typically only happens after the buyers have reviewed photos of the space.
This is why investing in a professional real estate photographer has become so important. Since showcasing the property in real life is currently minimized, photos are one good way to create the desired appeal amongst buyers.

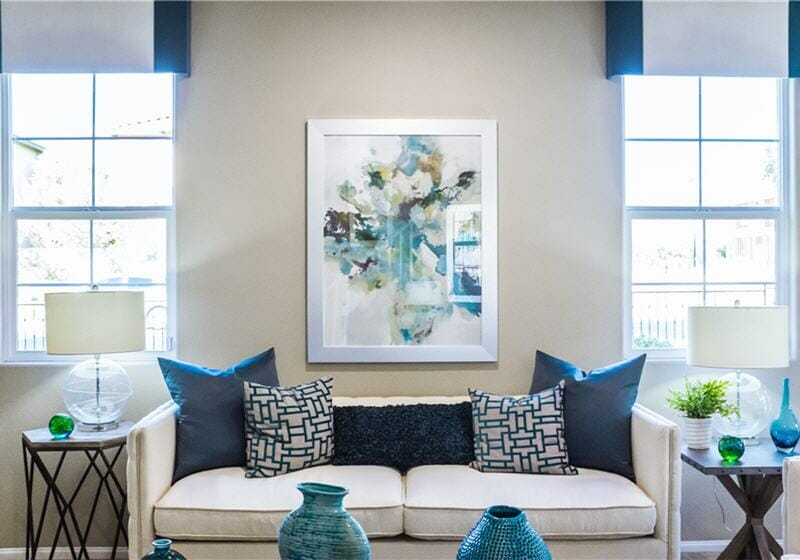
On that note, we recommend that you engage with photographers who have experience in ‘staging’ the property. This will attract the highest number of potential buyers. These professionals will know about the right lighting, composition, and angle to make any space look its best.
Staging and professional photography may appear to be a significant upfront investment, but it’s also a surefire way of increasing the chances of selling a property.
Whether you rely on a hired hand or go the DIY route to capture the essence of your real estate, be sure to:
- Choose the perfect front view photograph, which will likely be the primary image on your property listing. It should be enticing enough to motivate potential buyers to look at the rest of the photos, read more about your property, and request a viewing.
- Highlight the Universal Selling Proposition (USP): Apart from the staples such as bedrooms, kitchen, and living room, be sure to photograph some of the more exciting aspects of the house such as the jacuzzi, pool, or tree-house.
- Create 3D photos of in-progress rooms using RoomSketcher: A few rooms may be under renovation, but you can still show the prospective buyer what they will look like after the transformation. For instance, show virtual 3D photos created using the RoomSketcher App. These look just like real photos. You can capture your vision down to the colors, textures, materials, and furnishings. The app also works out great for new build properties, where it’s not possible to provide actual photographs.

4. Add Property Videos for Extra Oomph!
Along with photos, one of the latest trends is to include a 3-4 minute video showcase of your property.
Buyers have greater trust in property listings when they can see a video. A video offers a more complete understanding of the space. According to a survey by NAR in 2018, 73% of homeowners would prefer to work with a real estate agent who uses videos in the property listing. This preference will likely rise in this era of physical distancing and the growing comfort in making purchase decisions online.
5. Market it Like you Mean it
When selling a property, your property listing is crucial to get right since it will be shared widely, through listing sites, social media, other brokers, and emails. To ensure that your listing stands out from the crowd, be sure to include:
- A brief and accurate description of the property: Apart from the pricing and visual imagery, the listing must include the number of bedrooms, room measurements, the type of tenure (e.g., leasehold or freehold), parking facilities, tax details, and energy performance information.
- Detailed floor plan: Research has shown that properties marketed with a floor plan receive up to 30% more interest than those without one. So, present potential buyers with a clear layout of your property. You can quickly draw up a floor plan in the RoomSketcher App on your computer or tablet, or order one from RoomSketcher Floor Plan Services.
- Sell the real estate location: The locality and proximity to amenities can tilt the buyer’s interest in favor of your property. Thus, be sure to include a local map, information on schools nearby, public transport links, local convenience stores, restaurants, bars, and recreational facilities. These details are especially important if you want to appeal to people relocating from across the country, who may not necessarily know the local area.

It’s also critical to tailor your listing to the buyer persona that you are targeting. Let’s imagine you are selling a beach house targeted to a single person. When writing the listing, instead of waxing lyrical about the proximity of the property to schools or its eco-friendly fittings, talk of the resort. Such as amenities and easy access to the beach for summer cook-outs.
Want to learn more?
6. Enable Contact-Free Home Showings
Initially, virtual home viewing sessions were for interested buyers who couldn’t be in town to view the property in person. Today, buyers and sellers prefer that property tours (at least at the introductory level) take place without face-to-face meetings. There are many great video conferencing solutions, from Skype to Google Hangouts to Zoom, that can offer this sort of a ‘remote’ open house or private tour session.
Alternately, suppose you are trying to sell a new property that is still under construction. You may offer interested parties a link to a virtual walkthrough of the project’s 3D floor plan via RoomSketcher. A virtual tour helps buyers visualize the final design interactively. By navigating via an avatar and flying over the floor plan. Optionally, potential buyers can interact with the layout of your property and start furnishing it like it's their own home.
7. Negotiate Post-Property Inspection
At the negotiation stage of selling a property, it’s essential to have a real estate agent in your corner. Their bargaining skills are sure to help you get a reasonable price for your property. According to the National Association of REALTORS, the average seller sold their homes at close to the listing price when they used a broker during negotiation.
It’s also important to remember that most buyers will have a home inspector visit your property. They will assess it for structural integrity, pest infestation, fireplace safety, etc. If their report highlights any critical issues or structural damage, the buyer will either ask for a price cut or repairs. So, be sure to have your contractors on stand-by to iron out these issues; to enable the sale to proceed smoothly.

8. ‘Close’ the Sale
Finally, you have an interested buyer ready to sign on the dotted line. Congratulations! The next steps typically include:
- Set up an escrow account: Be sure to set up this third party account to hold all the real estate transaction-related proceeds and documents until the deal is complete.
- Draw up and proof-read your contracts: Employ a lawyer to pen your property sale deeds and ensure that it adheres to the laws of your country or state. This will help avoid any legal disputes in the future. Also, there are 180+ sheets of paper per deal to be signed in any real estate sale. In this scenario, paperwork fatigue is a given for both buyers and sellers. Don’t let that get in the way of thoroughly reading through each document to know what you are signing.
Final Word on Selling a Property
Sure, selling your home is a lot of work. But it can be a lot easier (and more profitable) if you plan smartly.
To make your property stand out from the competition, consider virtual tours and 3D floor plans that help buyers quickly understand your property.
Find out what you can do with the RoomSketcher App by signing up for a free account today. And, once you are ready to try out the professional features, an account upgrade is easy!
Don't forget to share this post!
Recommended Reads

Real Estate Photography - The Ultimate Guide [2023]
This post gives you a complete guide with actionable tips for taking your own real estate photography.

How to Prepare the Home for Real Estate Photography
Are you listing a property for sale? Get our complete checklist on how to prepare your home for the real estate photography shoot.

7 Essential Tips for Selling Your Home
Getting ready to sell a home? These 7 essential tips for selling your home will help you to get prepared and create a successful listing.
